How to prepare your car panel for painting
You can apply the best car aerosol paint in the world (ours, obviously!) but if you haven’t prepared your bodywork properly, you’ll get disappointing results. Good panel preparation focuses on proper removal of old paint and rust, fixing holes or dents, and applying base layer. The better job you do at this stage, the better the results.
Assemble your tools
- Masking tape
- Plastic sheeting
- Sandpaper (different grades) and block
- Degreaser and cloth
- Filler
- Primer
- Safety glasses and mask (if inside)
For painting
- Colour-matched car paint in an aerosol
- Lacquer in an aerosol
Preparing your panel
1. Protect your other panels
Let’s assume you’re not going to remove the panel completely and you’re going to do the work in situ.
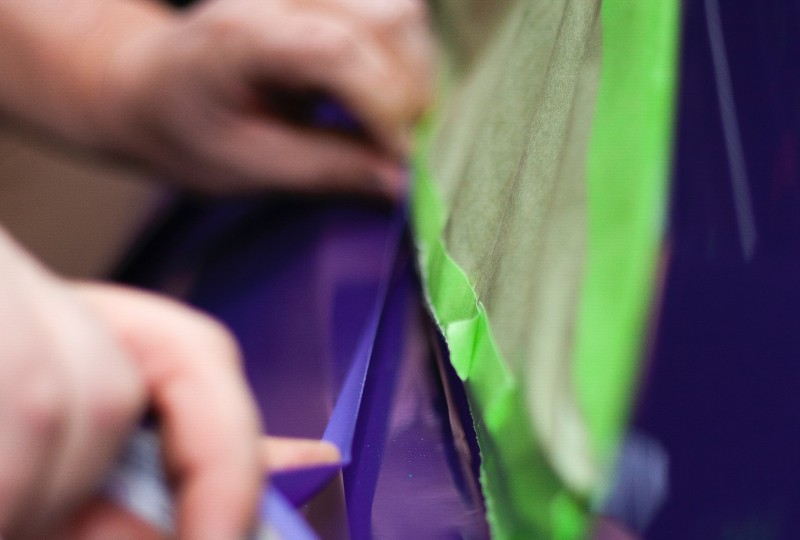
Using your plastic sheeting and masking tape, cover the surrounding panels that don’t need to be touched. Get into the cracks of the joins with the tape to make sure they’re fully covered.
Use automotive masking tape. This is pressure sensitive tape made of a thin and easy-to-tear paper that’s easy to remove and doesn’t leave a residue.
2. Sand the panel
This is the preferred way of removing the layers of lacquer and paint. It’s time-consuming but it’s the simplest and most sensitive way to do this.
You can use a mechanical sander if you prefer but be warned these need to be used gently so as not to remove excess paint or burn.
Use different grades of preparation sandpaper, starting with the strongest in the pack and moving gradually down to the finest as you expose more of the metal. Don’t sand too hard and use a block.
Especially if you’re working inside, wear safety glasses and a suitable mask to avoid sanding dust and paint flakes getting in your eyes and breathing them in.
3. Clean the panel
Using a degreaser and cloth, wipe the panel free of dust, paint particles and any other nasties and allow to dry. Your finished surface should be clean, bare metal.
Our Panel Wipe and Degreasing Cloth is ideal for this job. The Panel Wipe solution removes silicone, grease, oil, wax, dirt, tar and soot contaminants. The solvent-resistant cloth is imprinted with a crow-foot pattern that facilitates streak-free application and removal.
4. Fix dents and holes
Before you go any further, you’ll need to fix any damage to your panel with a suitable filler. See our guide to fillers for more guidance on choosing the right one.
Be sure to let the fillers dry thoroughly before gently sanding to blend with the profile of the panel.
5. Apply your base layer
After sanding the damaged area you should always use a primer as your base coat.
Your panel might be suitable to apply a primer directly. Our grey aerosol primer prevents rust from forming and has strong adhesion to the panel, creating a smooth base layer for your paint. (All our car paint primers are available in grey and white).
Leave the primer to dry for 10-25 minutes before applying a second coat if it needs it. Leave the primer to cure 24 hours before applying the colour matched paint.
6. Paint
After your primer has cured, you can get on with the fun job of painting. You’ll probably need at least 2 layers of paint and 2 of lacquer. See our guide on using paint aerosols (and touch-up pens and bottles).
Additional tip
If you’re fixing your car in autumn or winter, check out our painting in cold weather guide and tips.
Ready to order?
We recommend ordering your aerosol paint and lacquer at the same time you order primer or rust inhibitor. And don’t forget your sandpaper and, if required, filler.
The easiest way is to find your paint code using your reg. Once you have your paint code, our website takes you to the products - precision pen, bottle or aerosol - so you can make your selection.
When you’ve added everything to your basket that you need - like primer and lacquer - click through to checkout and choose from a range of delivery options.


