


How to fix dents, cracks and paintwork on your bumper
It’s easily done - we’ve all had that stomach-churning moment when we realise we’ve hit - or even just lightly grazed - an object that’s damaged the bumper. Take your car to the bodyshop if you like, but actually you can achieve quite good results yourself.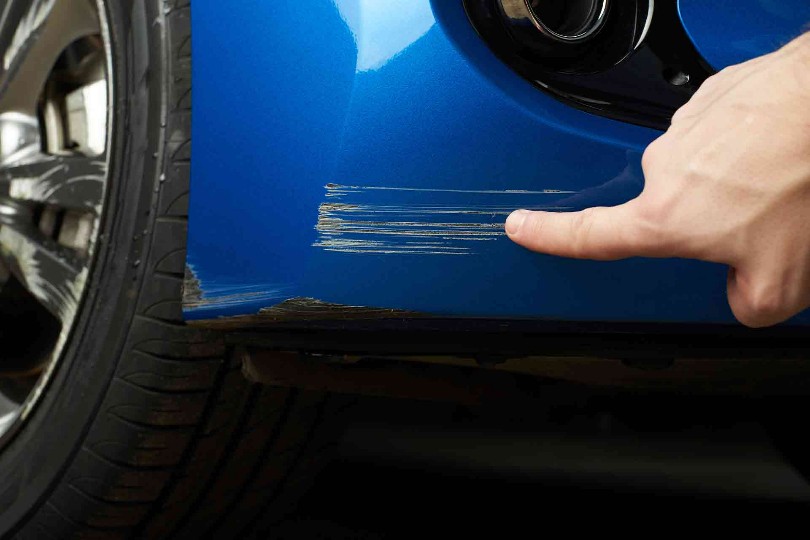
Here’s how to fix damage to a plastic bumper, right through to repairing the paintwork using colour-matched car paint.
Fixing dents and gouges
Tools
- Plastic filler
- Sandpaper and block
- Panel Wipe & Cloth
- Masking tape
A note about plastic filler
We recommend plastic filler for repairing plastic panels & bumpers. Our MPEX Plastic Filler is a flexible product specifically for this job. Importantly, its flexing qualities prevent future cracking if the substrate flexes. It’s also got great adhesion to all plastic types.
How to fix the damage
- Mask the area you need to sand - sometimes it’s hard to judge by eye where you need to stop.
- Sand the area using sandpaper. Using it with a block will allow you to apply even pressure across the damaged area and avoid creating more damage. Your aim is to flatten raised damage and remove old paint down to the primer (the white layer). Sanding also provides a key for the filler that creates better adhesion.
- Remove dust with the cleaner and a cloth.
- Apply your plastic filler, filling the damage so it’s standing proud of surface level. Let it harden.
- Use your sandpaper and block again to carefully sand the filler to the surface level of your bumper.
Fixing bumper cracks and splits
Tools
As above, plus:
- Reinforcing mesh/tape
How to fix the damage
- As above - mask the area.
- As above - sand the area front and back.
- As above - remove dust.
- Cut a section of mesh to size and put it to one side. Make sure it will overlay the damaged area with good margins on all sides - 20-30mm should be sufficient.
- Gently align the split edges. You might need to apply a length of tape to the front of the crack to stop them offsetting again.
- Apply your plastic filler to the back of the bumper. Quickly, while it’s still pliable, affix the reinforcing tape, making sure it will bond well to the filler and the back surface of the bumper. Let it harden. No sanding required.
- On the front surface of the bumper, apply a layer of filler and work it into the crack, again giving good margins so you can blend it in. The layer should stand a little proud of the original surface so you can blend it in. Let it harden.
- As above, use your sandpaper and block again to carefully sand the filler to the front surface level of your bumper.
Painting your bumper
Tools
- Primer aerosol
- Colour-matched paint aerosol
- Lacquer aerosol
How to paint your bumper
- Order your primer, paint and lacquer, plus other accessories like masking tape and sandpaper. You can select your most convenient timeframe for delivery at checkout.
- You won’t need to paint the back surface of your bumper.
- Mask off an area with wide margins, bigger than the damaged/fixed area. This will allow you to blend in your primer, paint and lacquer so the repair isn’t obvious.
- Either vertically or horizontally, apply the primer in smooth cross coats 250mm distance from the repair.
- Leave to dry.
- Repeat the same for the car paint. Let it dry for 15 minutes before applying a second coat if necessary.
- Leave 24 hours before applying the lacquer.
- After use, turn the aerosol upside down to empty the nozzle valve to clean, so you can use it again if you need to. Hopefully, you won’t!
- Our Professional Scratch & Scuff Repair Kit will help you blend in the repair even further.
Read our full list of tips and advice about how to use touch-up car paints before you start.
Ready to buy?
If you’re ready to start your project, order now. Enter your registration details or paint code to find your car colour and select your preferred product. Don’t forget primer and lacquer!